
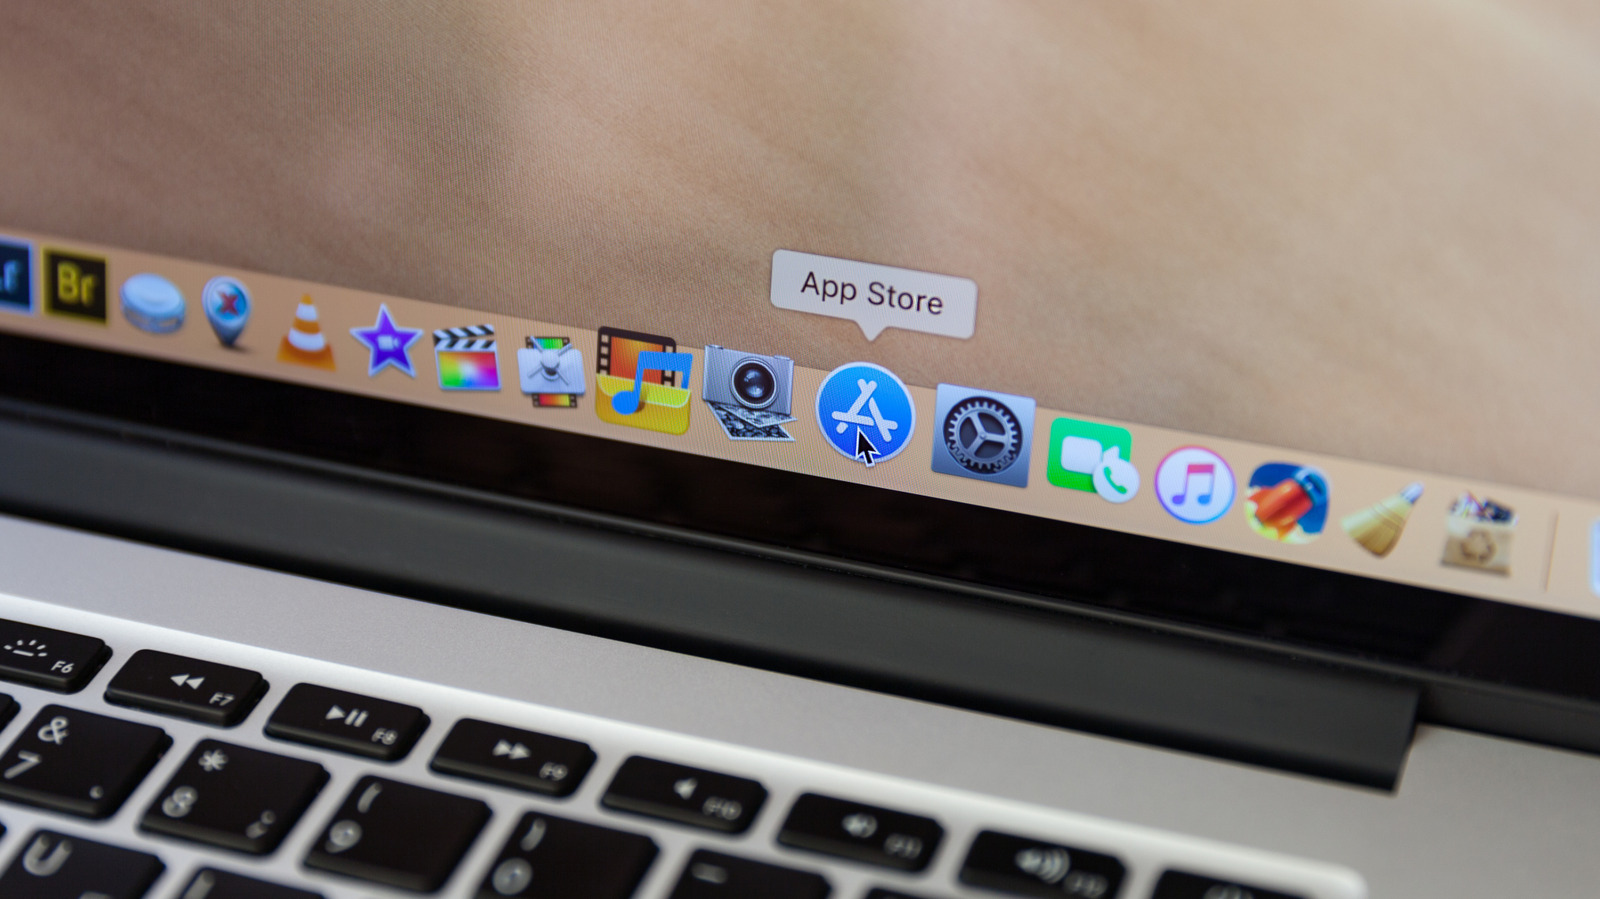
If you have a MacBook sitting around collecting dust, you can give it new life by turning it into a home NAS server. Here’s how to get started. How to turn your old MacBook into a home NAS server.
News Computing Laptops How to turn your old MacBook into a home NAS server Dig that MacBook out and put it to good use. There are several paths to take, from very straightforward use of built-in macOS sharing tools all the way up to advanced, Linux-based solutions. Most NAS servers exist for one of three things: as a home media library, for collaboration and sharing, or for storage and backup.
Given the value of the data, storage constraints and inherent risk of disk failure with older Macs, you should use external storage drives within your setup. Once you’ve got your Mac erased, reset to factory settings and updated to run the most stable macOS it can, what will you require. You’ll need a network and an Ethernet cable for fast and stable connection to your router.
If your Intel Mac has an HDMI output, you’ll want a headless HDMI plug to trick it into thinking a display is attached and activating the GPU for best video performance. You’ll also use the free Amphetamine app to prevent your Mac from sleeping.
Discover more from ChuckysCarnage
Subscribe to get the latest posts sent to your email.

